

User Focused
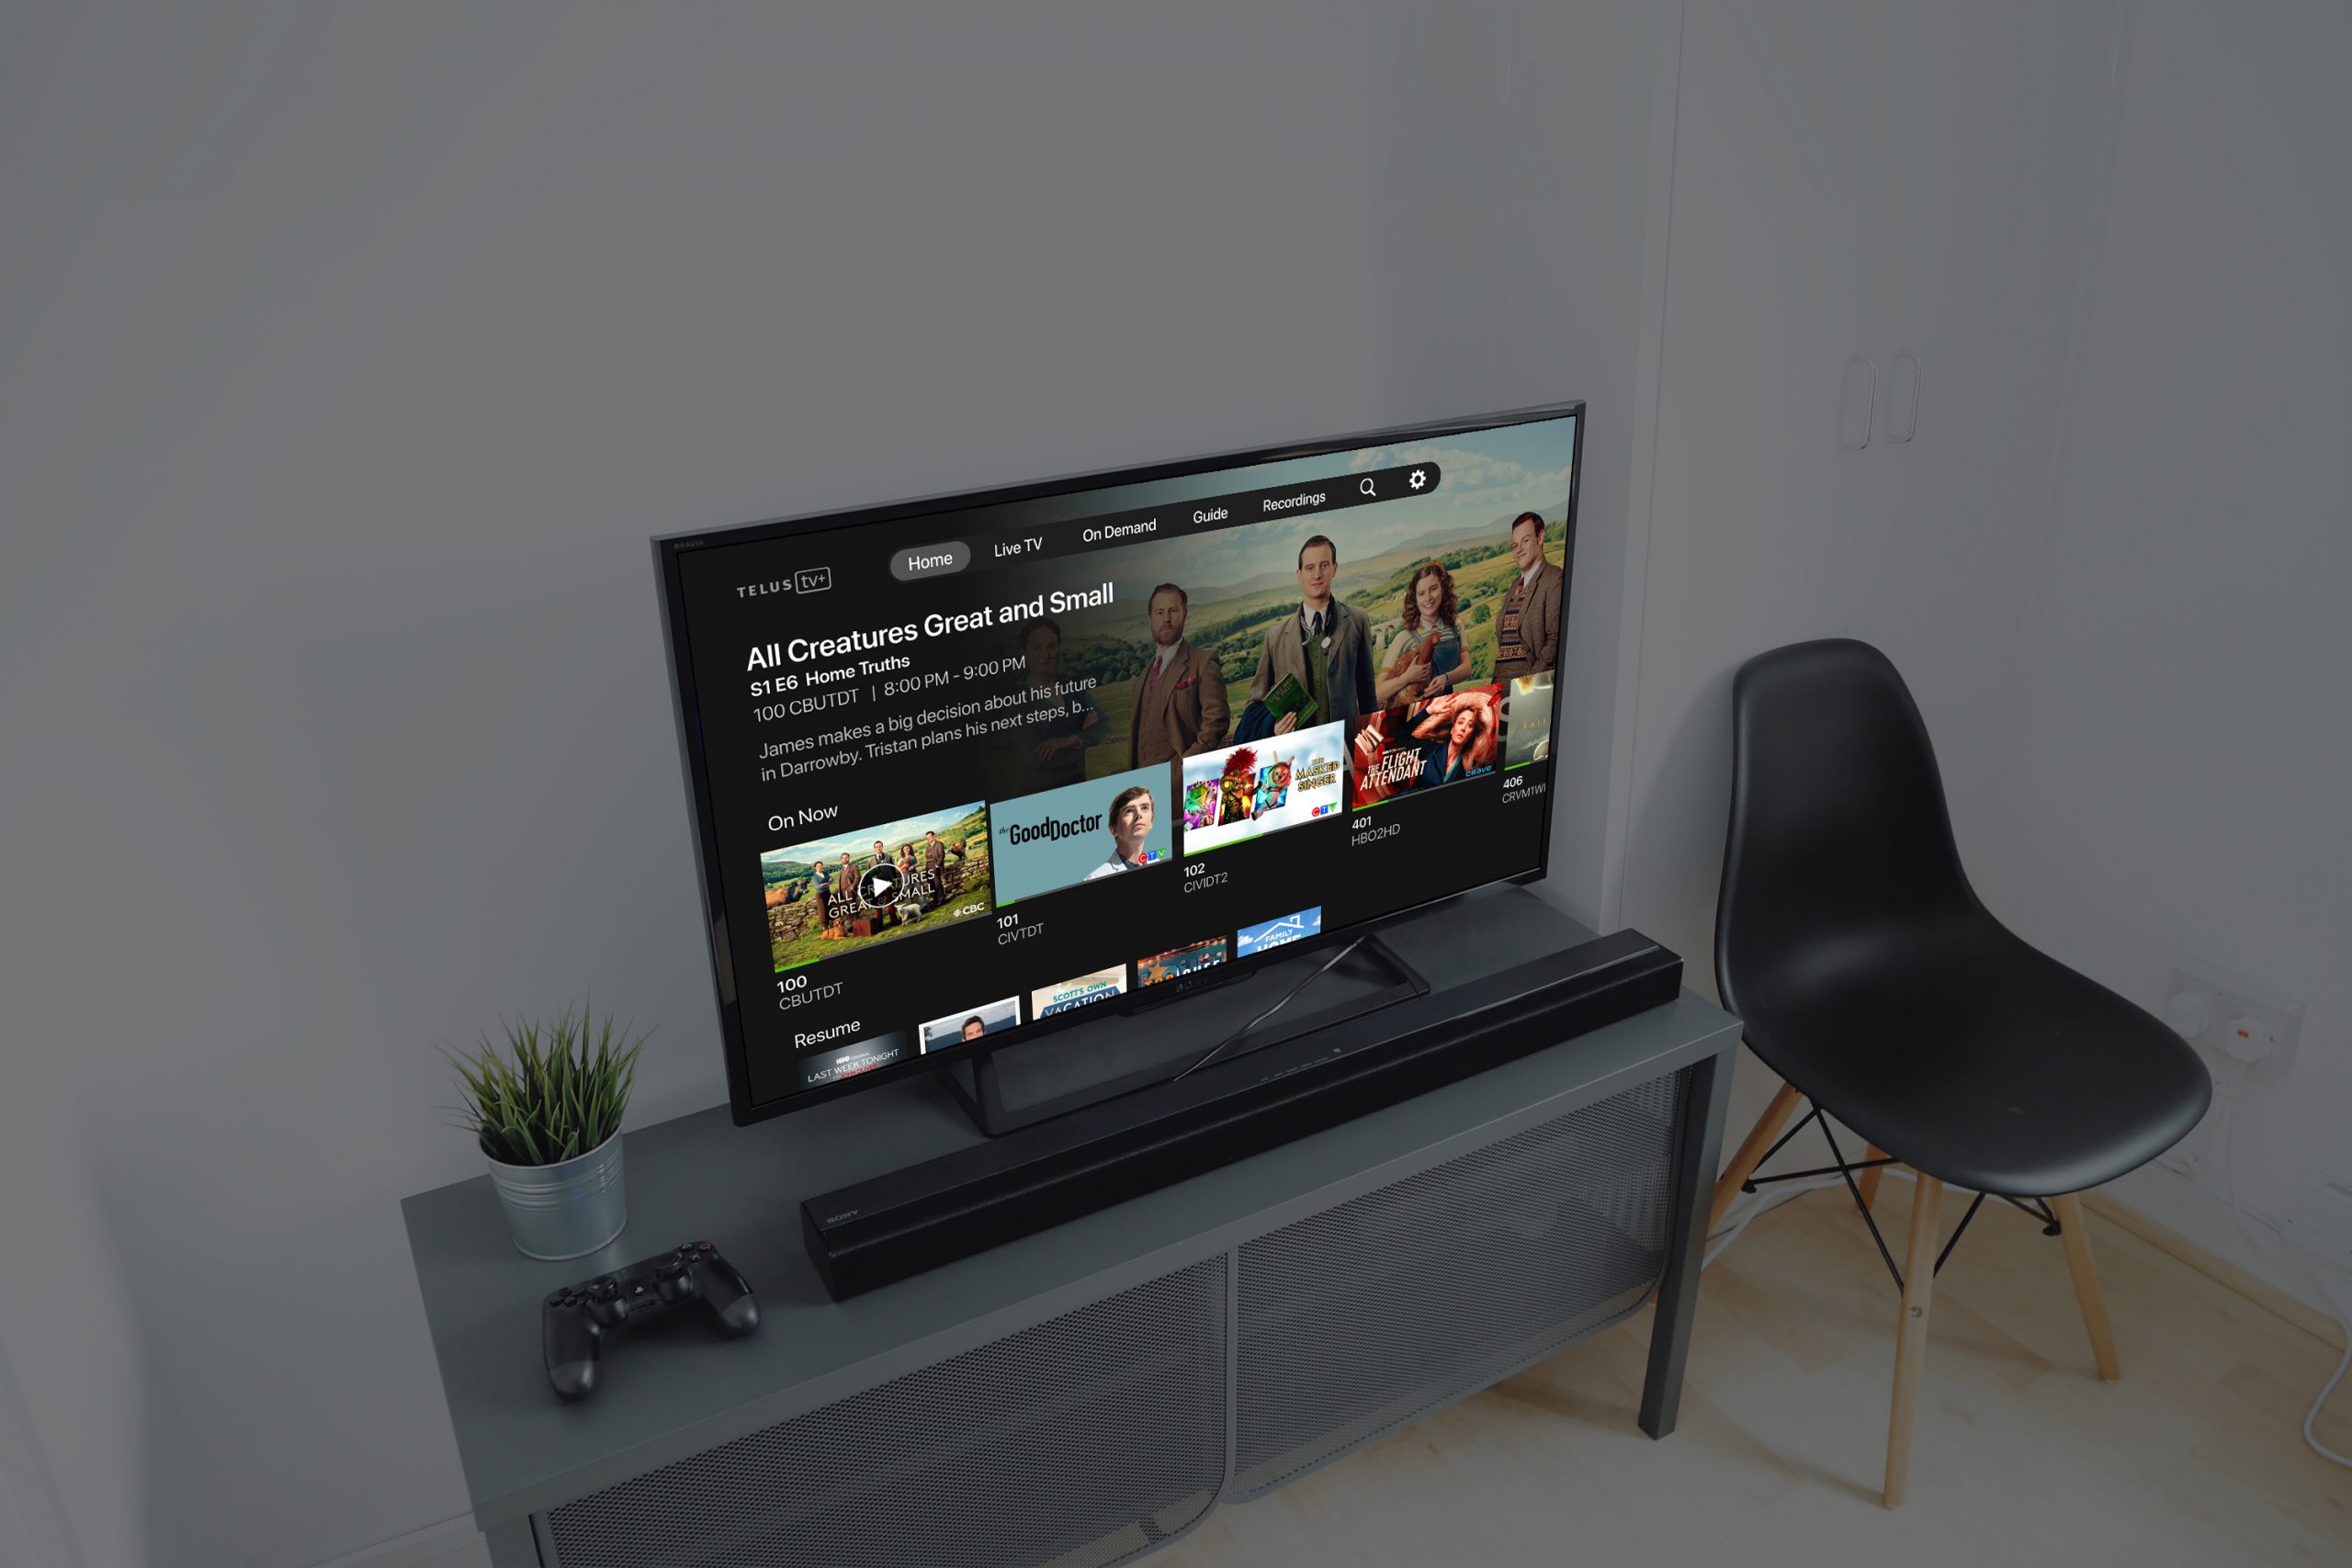
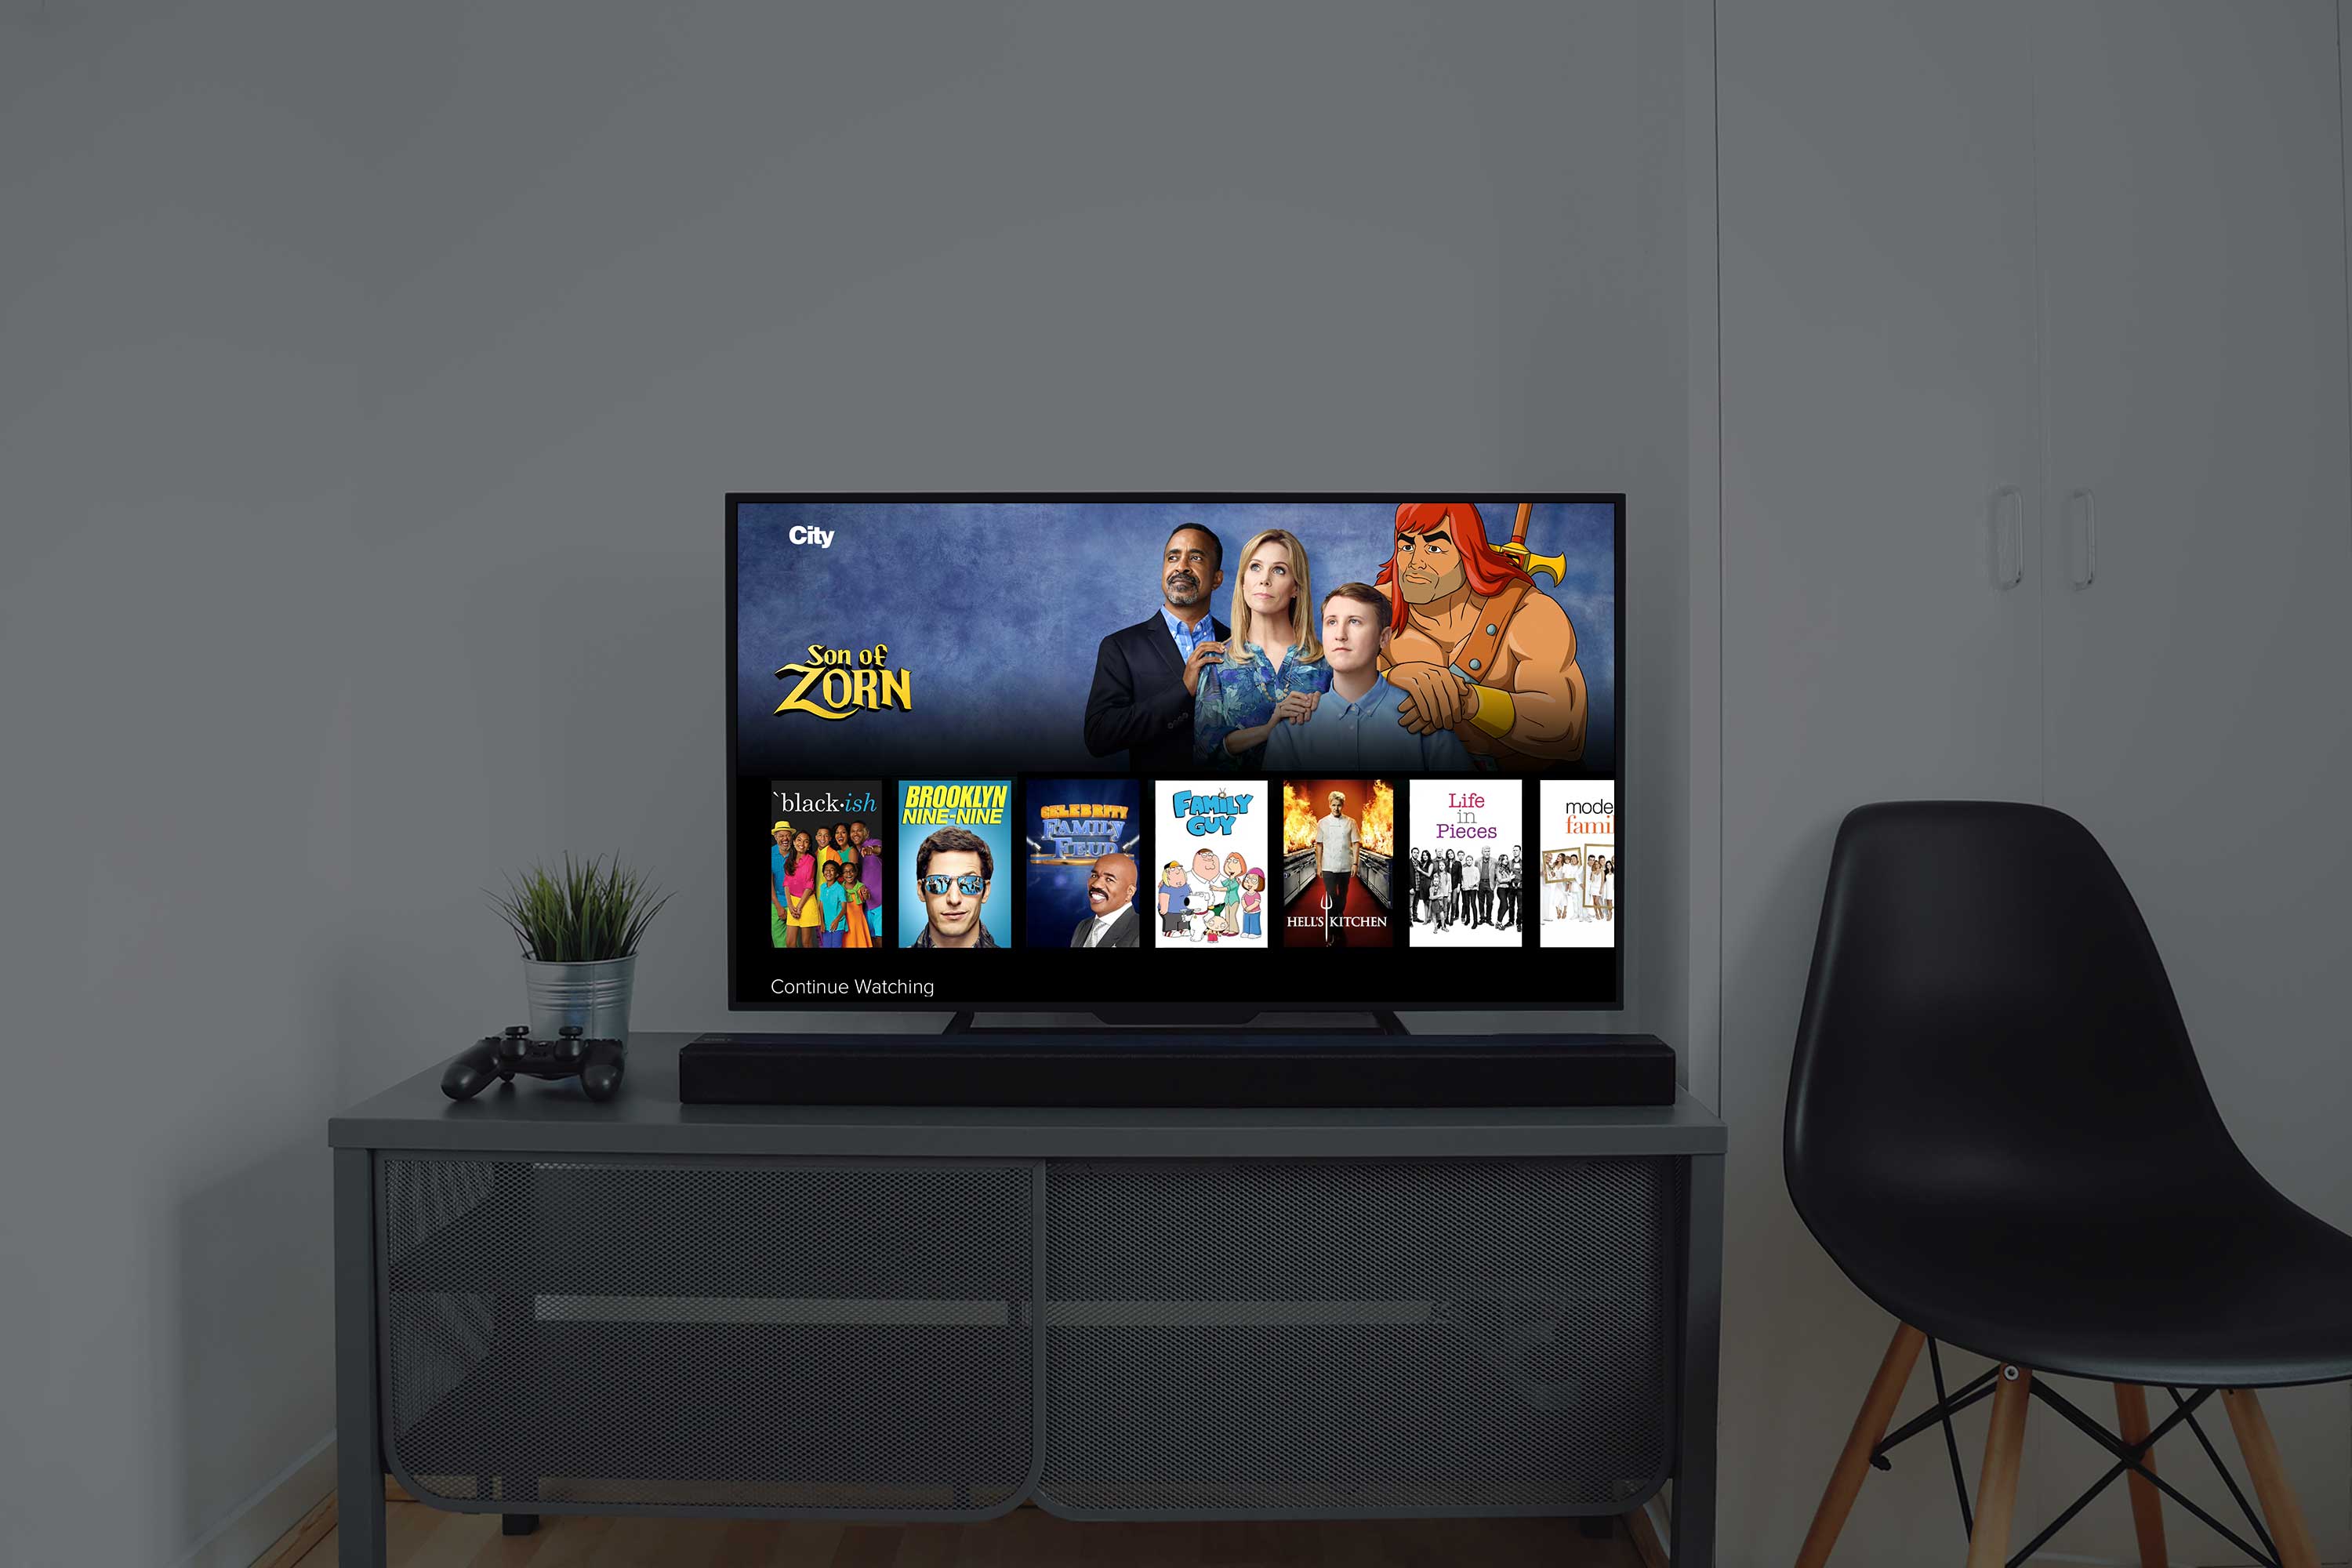
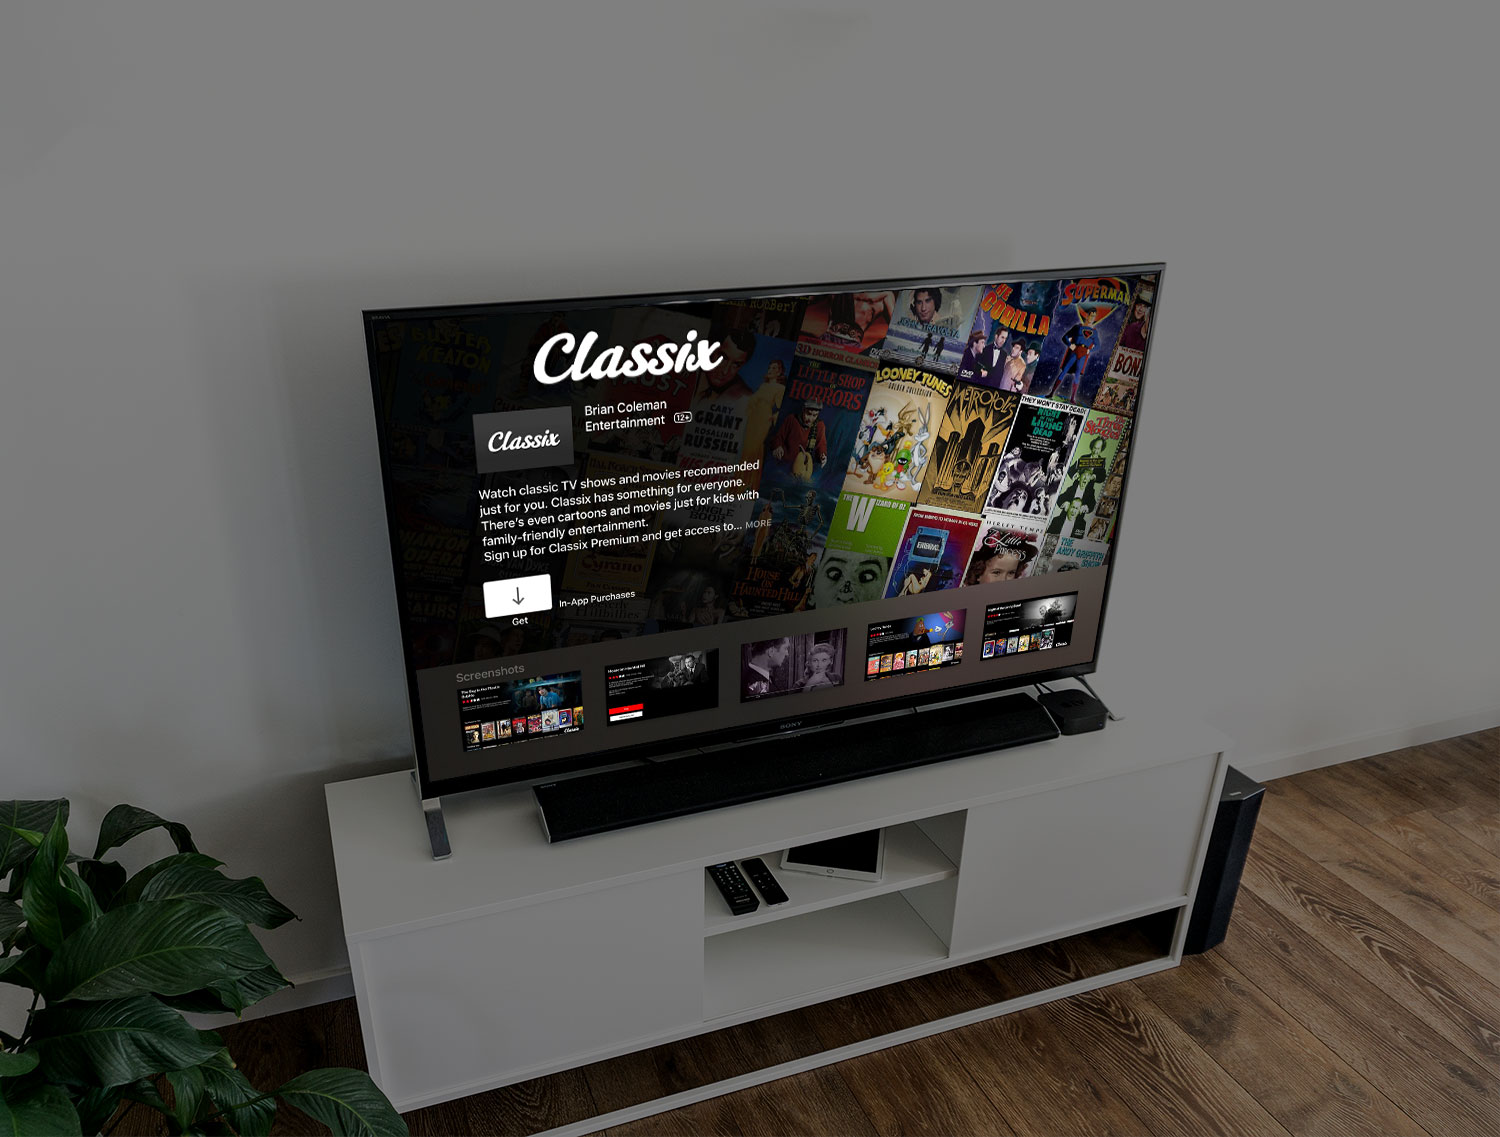
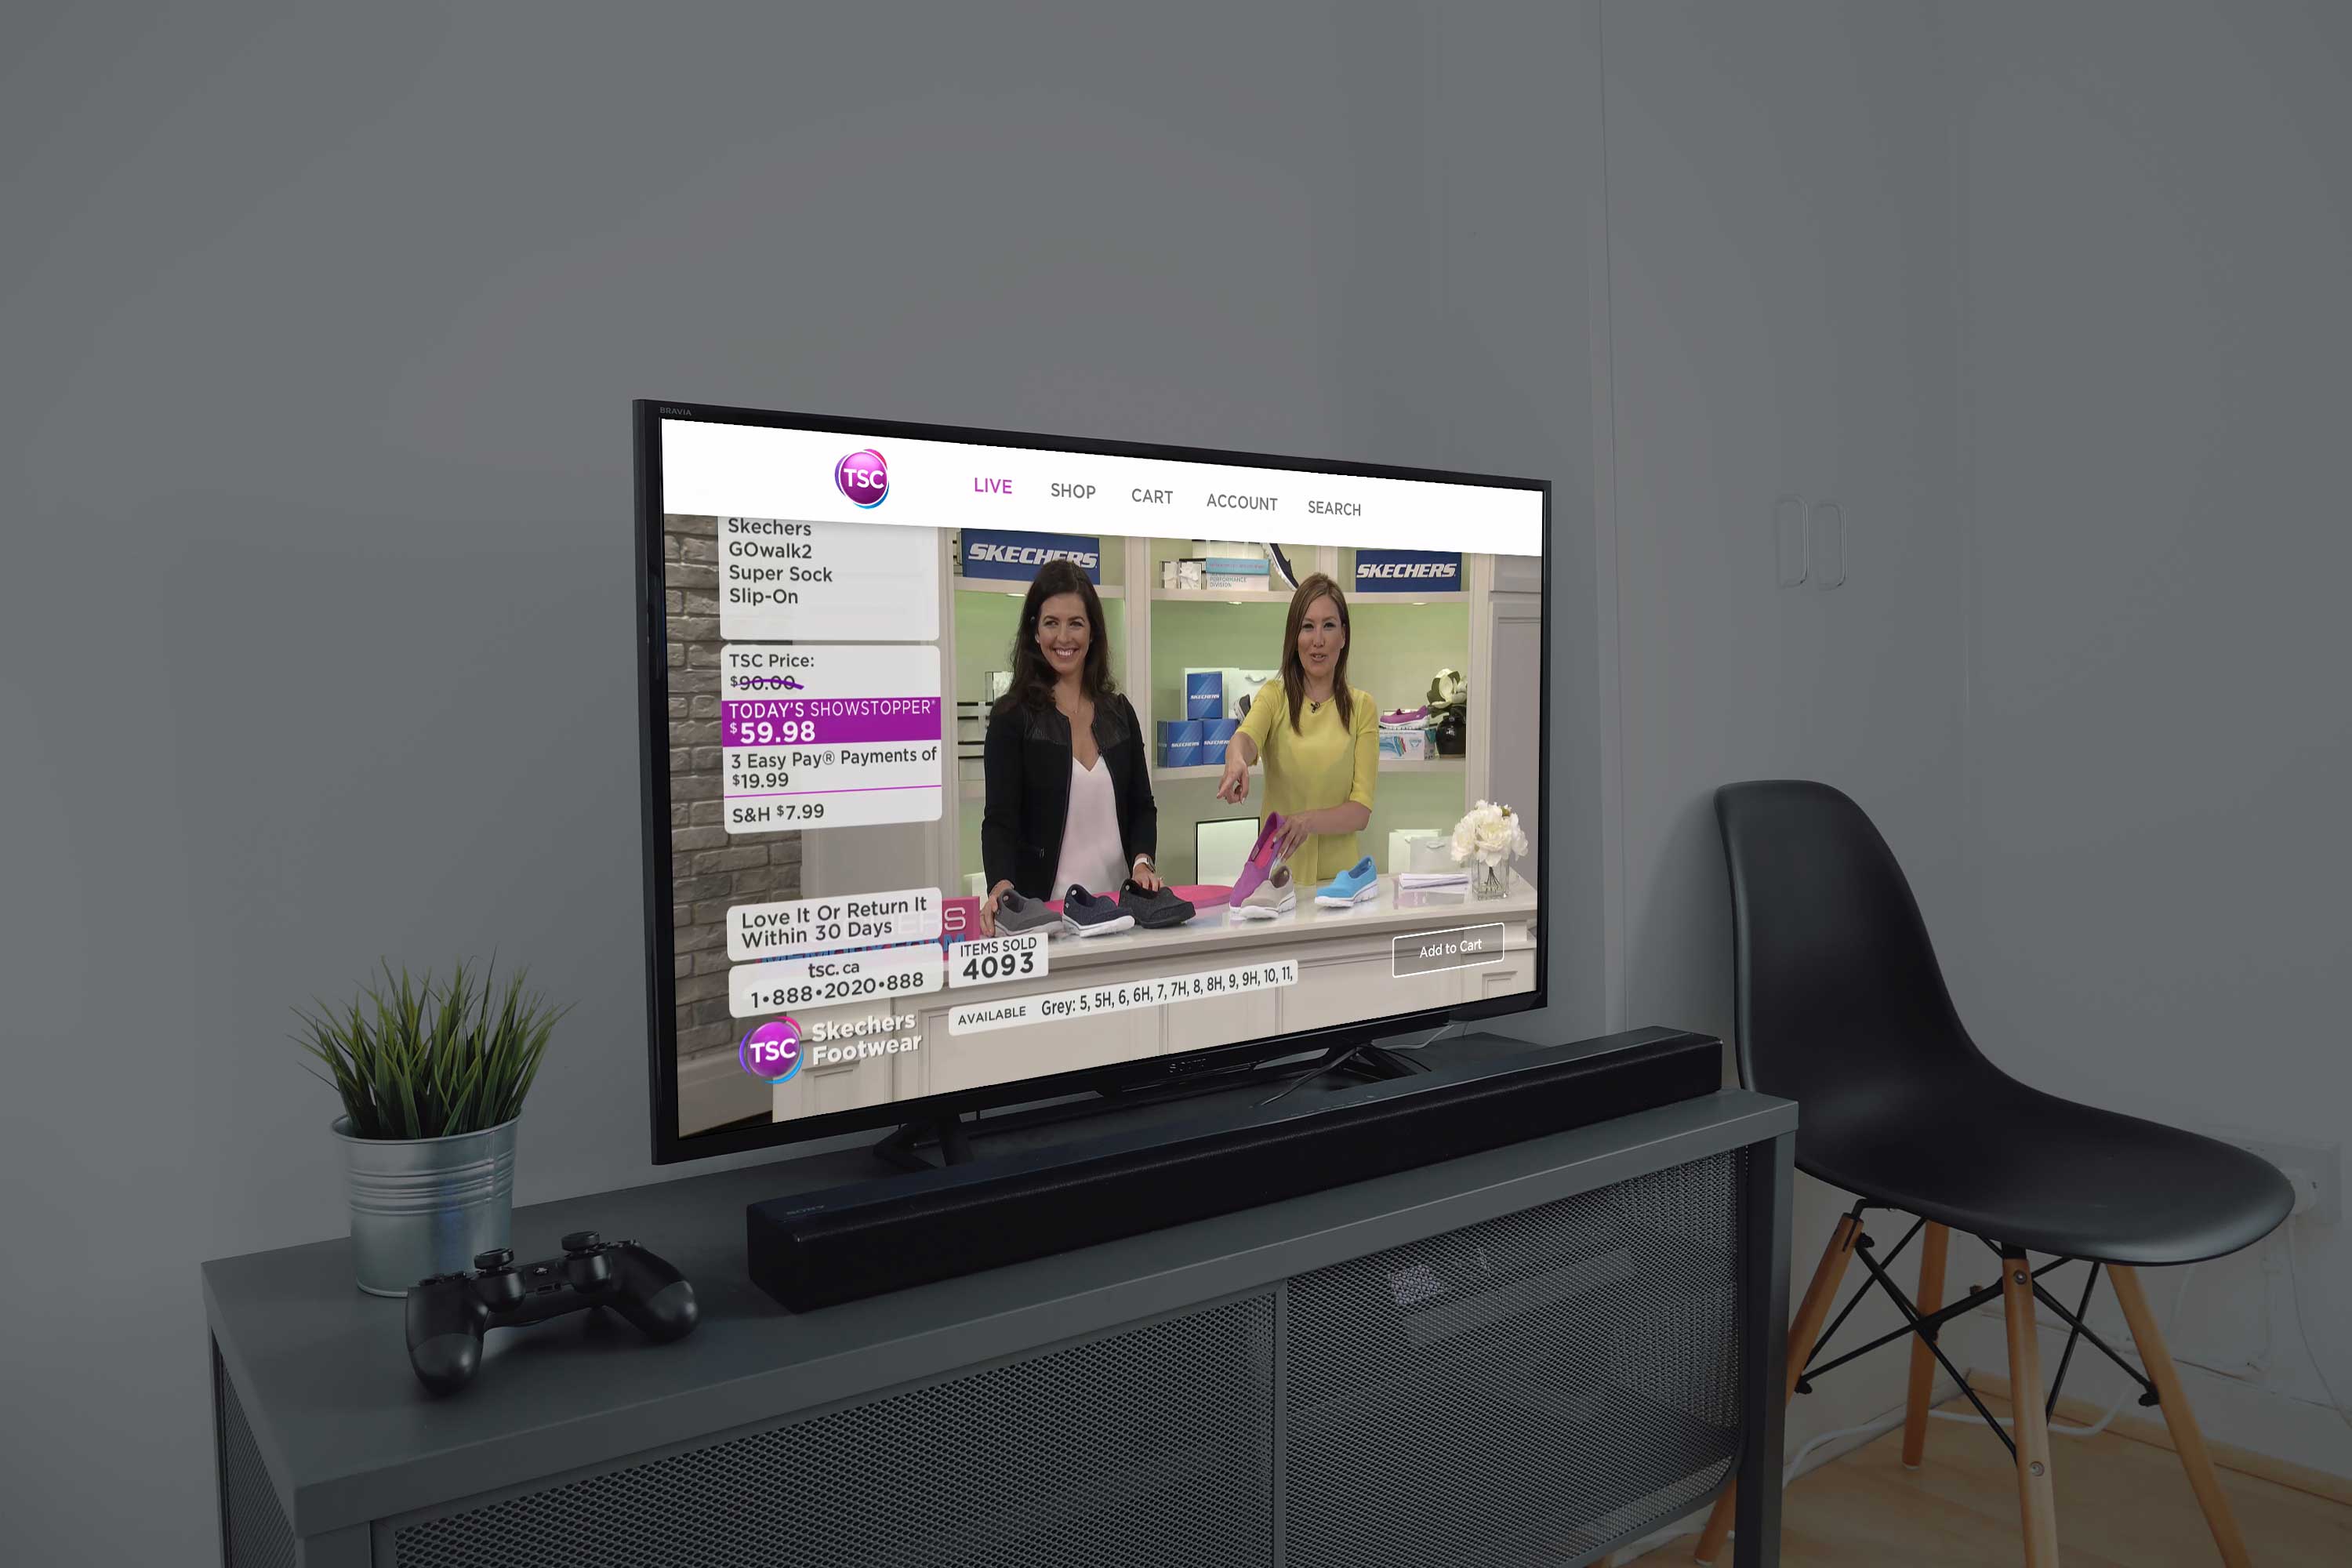
I can design and build native iPhone, iPad and Apple TV apps for your users. Think about what your Users need, and we can build the best app for them together.
Enterprise Apps
Most apps are distributed through the App Store but in some cases they’re only used within a company, as a tool for sales people or to work with custom hardware.
Full Project Lifecycle
Starting with initial concepts then designing the interface, writing code, and submitting apps to the Apple App Store, I will guide your through the process from start to finish.
App Enhancements
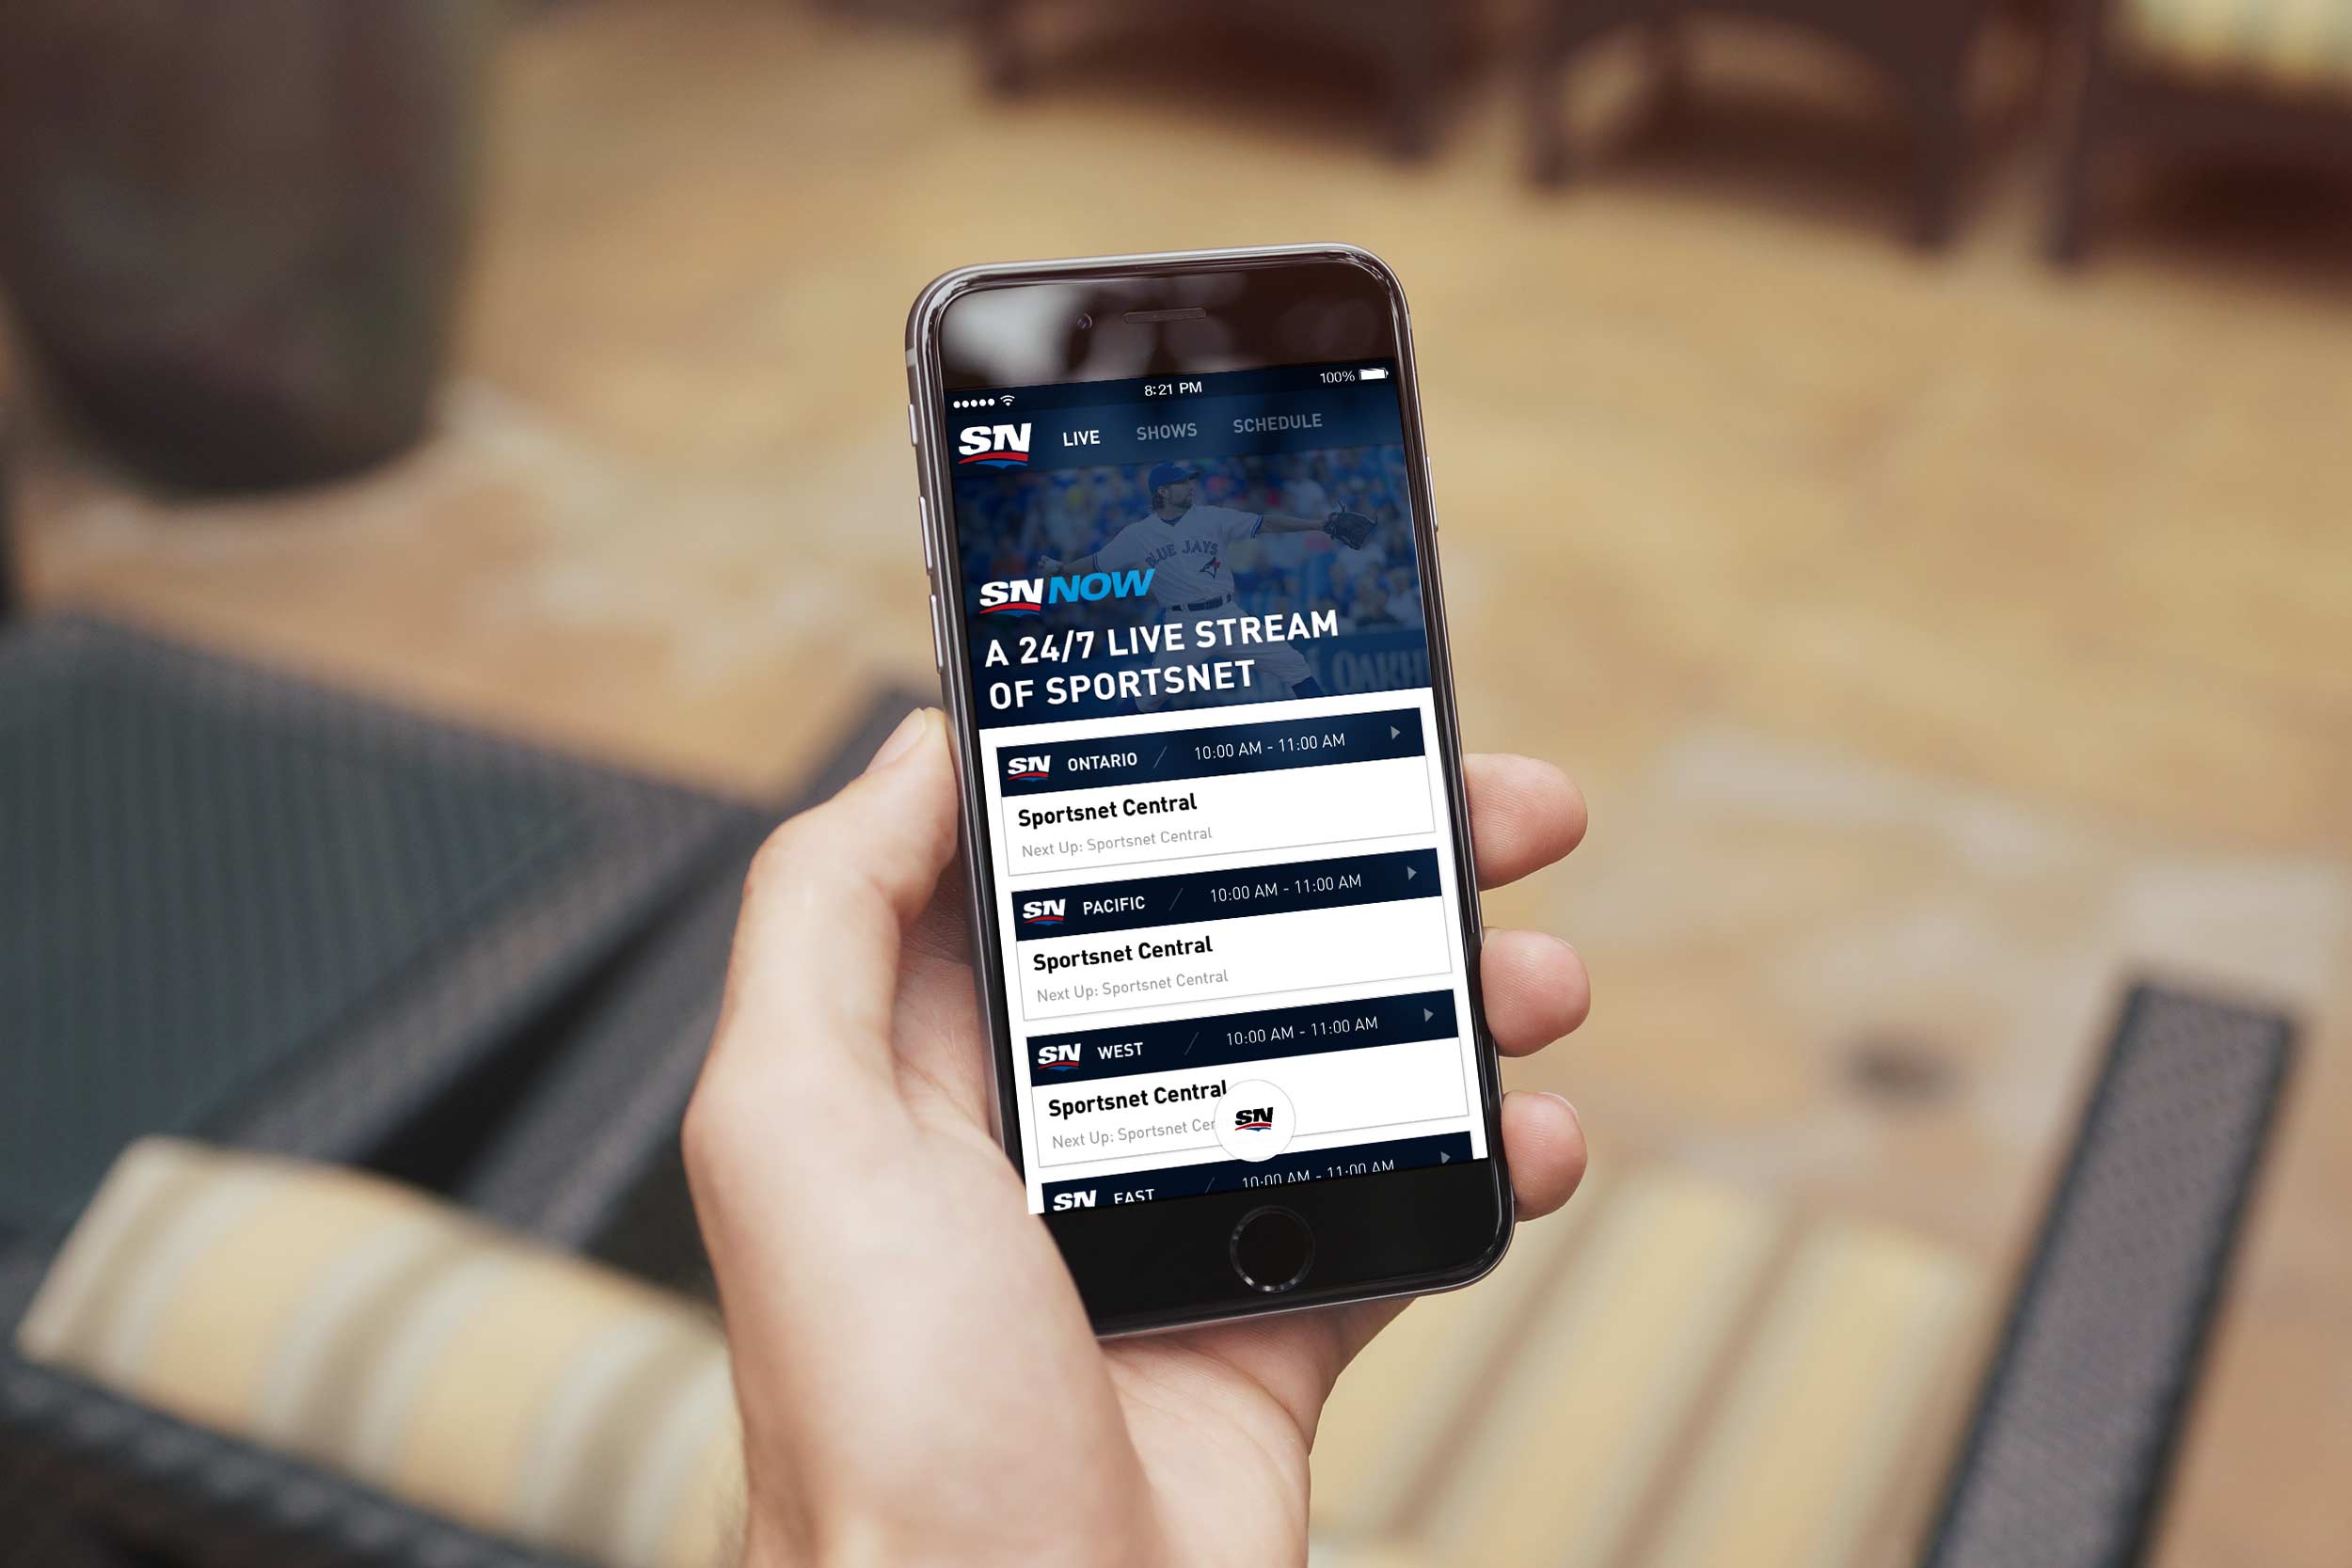
I also update apps that haven’t been touched in years and have done regular maintenance on apps with plans for progressively rolling out features. Got an app that needs help?
The Right Stategy
Let's have a conversation about what you’re aiming to achieve for your business and whether an app is the right approach. If a mobile-friendly website would better suit your needs, I won’t hesitate to tell you.
Got an App Idea
If you have a great idea for an app but you’re not sure if it can be built as an app or how big of a project it would be, I can give you an estimate on what's needed to complete it, and what's needed to get started.